ISPConfig is a powerful and open-source web hosting control panel that allows you to manage multiple websites, mail servers, and databases from a single interface. In this guide, I will show you how to install ISPConfig on Ubuntu 22.04 using a simplified and more efficient process.
Update Your System
Before beginning the installation, it’s always a good practice to update your system to ensure that all packages are up-to-date. Run the following command to update the package lists and install any available updates:
sudo apt update && sudo apt upgrade -y
Set the Hostname and Fully Qualified Domain Name (FQDN)
For ISPConfig to function correctly, you need to set the hostname and Fully Qualified Domain Name (FQDN) on your server. Run the following commands:
Check your current hostname:
hostname -f
Set the new hostname:
hostnamectl set-hostname yourhostname.yourdomain.extension
Replace `yourhostname.yourdomain.extension` with your actual hostname and domain.
Install ISPConfig
Now, you can install ISPConfig using the automated installer. This method simplifies the installation process and configures the server for you. First, download and run the ISPConfig installer by using the following command:
wget -O - https://get.ispconfig.org | sh -s -- --help
This will display the installation options and help you configure any specific parameters you might need. To proceed with a standard installation using FTP ports and unattended upgrades, use the following command:
wget -O - https://get.ispconfig.org | sh -s -- --use-ftp-ports=40110-40210 --unattended-upgrades
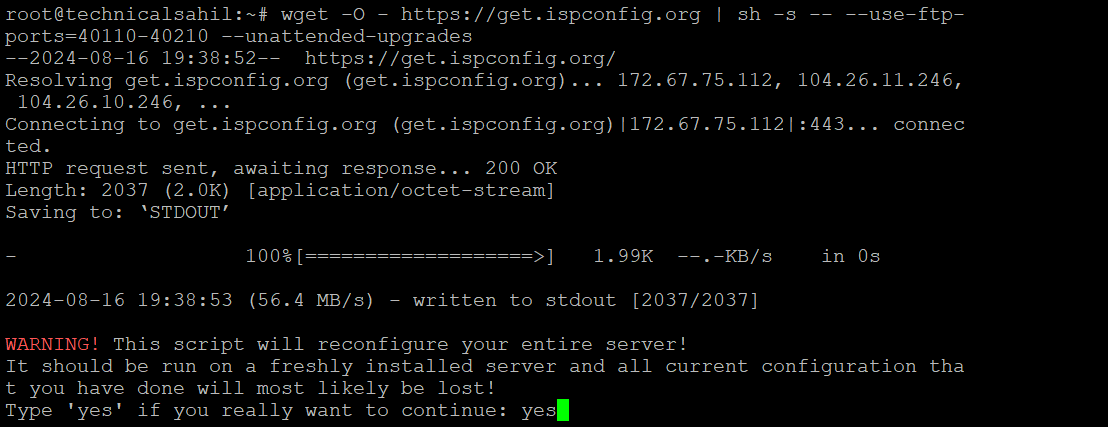
This command will start the automated installation process and configure your server accordingly.
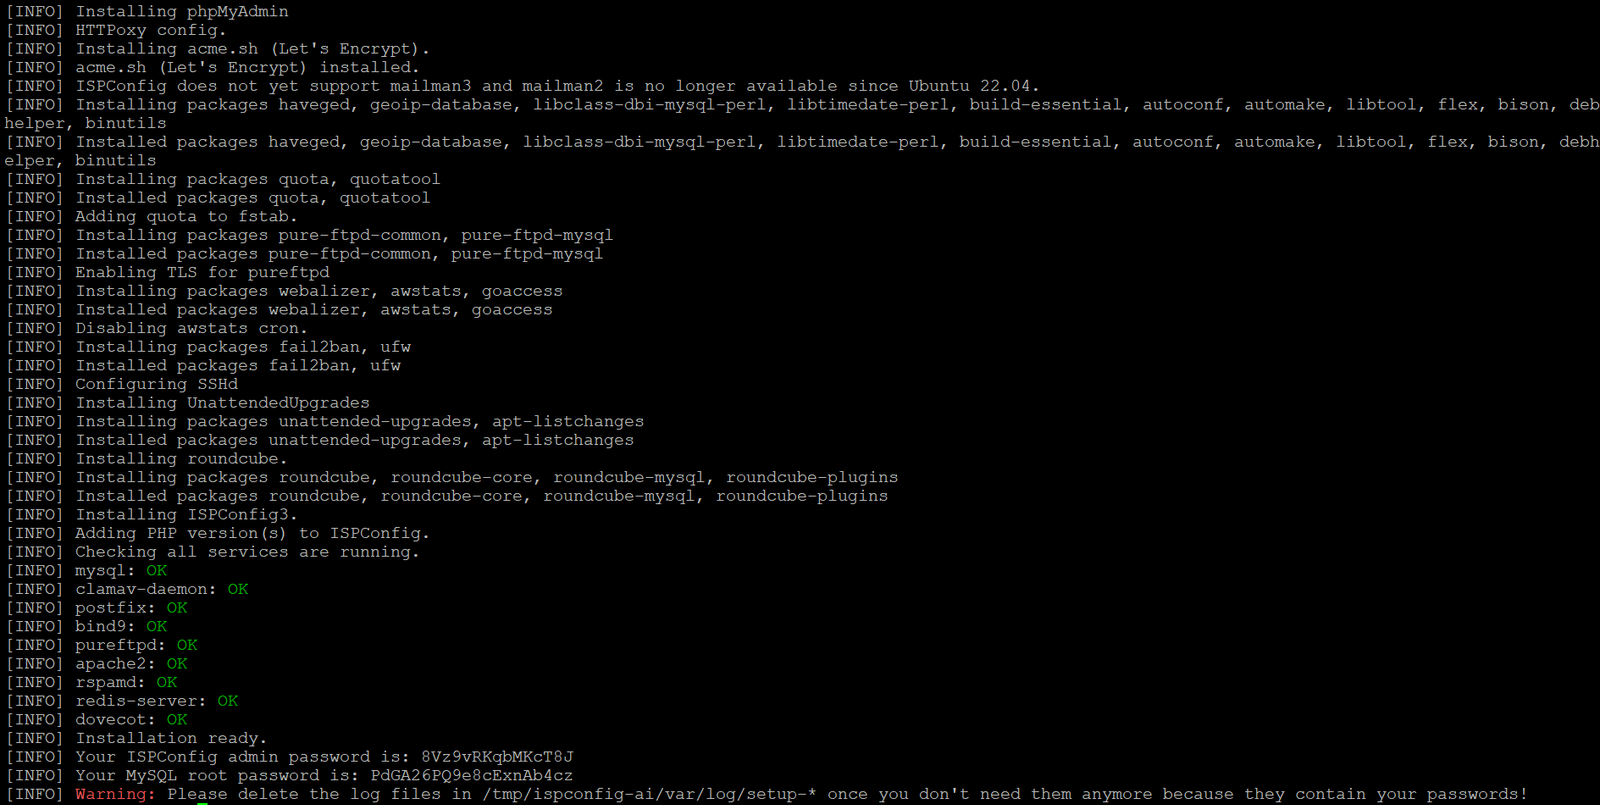
Access the ISPConfig Control Panel
Once the installation is complete, you can access the ISPConfig control panel by navigating to the `https://your-server-ip:8080` in your web browser. You’ll be prompted to log in with the credentials you set during the installation process.

You have successfully installed ISPConfig on your Ubuntu 22.04 server. Now you can manage websites, mail accounts, DNS, and databases from one convenient interface. If you have any questions or run into any issues during the installation, feel free to drop a comment or check out my video tutorial for more detailed instructions.