How to Install Apache on CentOS 7

Apache HTTP Server, commonly referred to as Apache, is a widely-used web server software. This article will explain how to install Apache on CentOS 7.

Updating System Packages

Begin by updating your system’s packages:

sudo yum update -y

Installing Apache

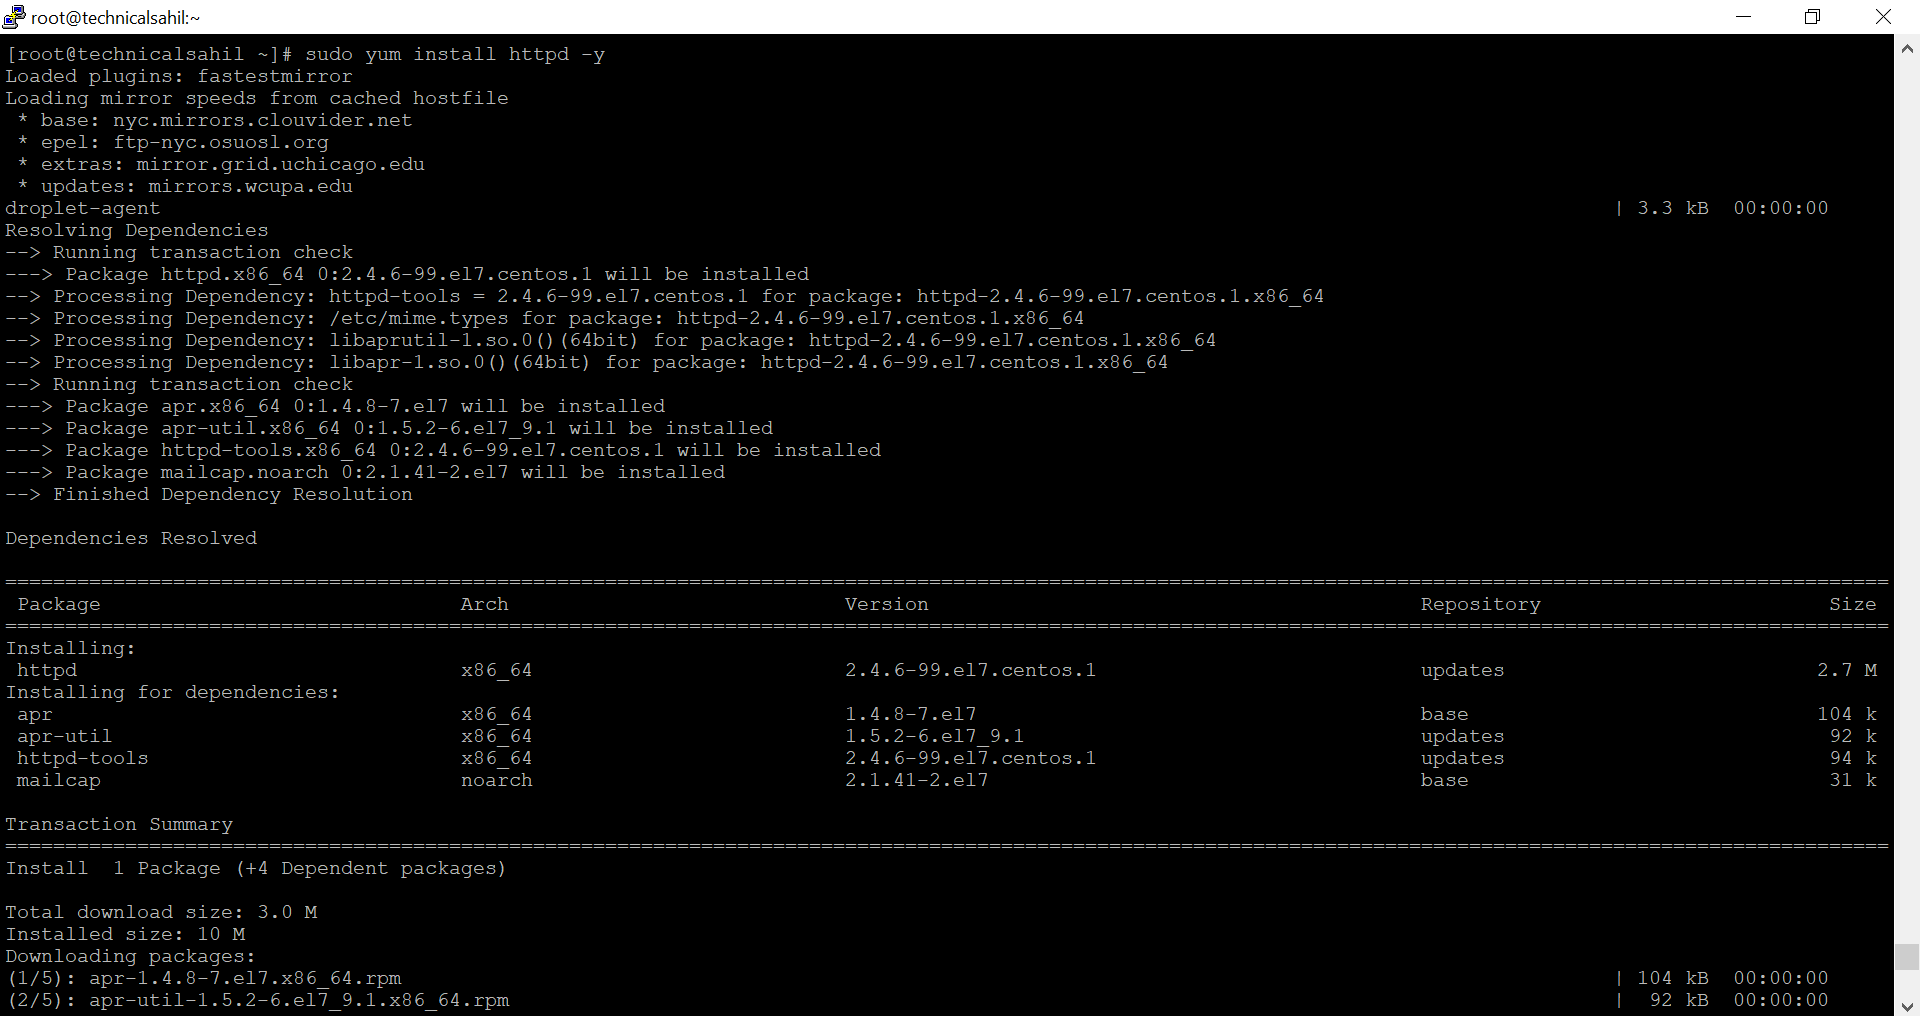
Install Apache using CentOS’s package manager:

sudo yum install httpd -y

Starting and Enabling Apache

After installation, start the Apache service:

sudo systemctl start httpd

Enable Apache to start on boot:

sudo systemctl enable httpd

Configuring Firewall

Allow HTTP traffic through the firewall:

sudo firewall-cmd --permanent --zone=public --add-service=http
sudo firewall-cmd --reload
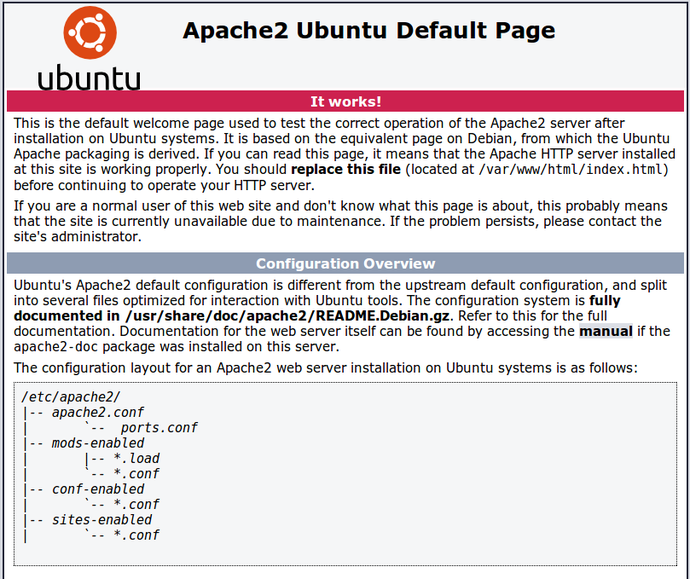
Testing Apache

Confirm the installation by accessing your server’s IP address in a web browser. You should see the Apache test page.

Apache is now installed and operational on your CentOS 7 server. It’s ready to host your websites and web applications.

About the author

Technical Sahil

Sahil Dhamija is a visionary entrepreneur and tech enthusiast, proudly owning multiple companies across India, the US, the UK, and the UAE. As the founder of AInventions Technologies LLC, DigitalMarkethink Solutions LLC, WebReinvent Technologies LLC, BusinessMate Software Solutions LLC, and co-founder of Hostyaga FZE LLC, Sahil is a dynamic leader shaping the future of technology and digital marketing.

Apart from leading his businesses, Sahil is a passionate tech YouTuber, sharing insights and tutorials on various technological topics. He also serves as the CTO at Vayuna Corporate Travels Pvt Ltd and as Product Head at Vayuna Voicetech Pvt Ltd, where he oversees cutting-edge solutions in corporate travel and voice technology. Additionally, Sahil is a creative force in the film industry, producing films through Gentle Breeze Films Pvt Ltd.

Driven by innovation and creativity, Sahil continues to push boundaries in technology, media, and business.

View all posts

Leave a Reply

Your email address will not be published. Required fields are marked *