Mail-in-a-Box is a straightforward solution for those looking to set up their own email server. Designed to make email hosting accessible for everyone, it automates much of the process, bundling all the necessary components into one easy-to-install package. Whether you’re managing emails for your personal domain or hosting email for multiple users, Mail-in-a-Box simplifies everything, from DNS management to email encryption.
This tutorial will walk you through the steps to install Mail-in-a-Box on Ubuntu 22.04, complete with detailed instructions, screenshots, and tips on getting everything set up correctly. We’ll cover everything from initial installation to the final configuration of your email server, ensuring you have a fully functional and secure setup.
Mail-in-a-Box includes key features such as automatic SSL certificate installation, web-based admin panel, and built-in spam filtering, making it an excellent choice for those who want to manage their own email server without dealing with complex setups.
>>How to Install MailCow on Ubuntu 22.04
Benefits of Using Mail-in-a-Box
One of the main advantages of Mail-in-a-Box is its ease of use. You don’t need to be an expert to manage a fully functional email server. With its automatic setup and straightforward management interface, anyone can set up a secure and reliable email server in a matter of hours.
Another benefit is the built-in security features. Mail-in-a-Box handles SSL certificate generation and renewal automatically, ensuring your email communications are encrypted without any additional effort. Additionally, its built-in spam filtering and DNSSEC support provide layers of protection for your emails, ensuring that your server remains secure.
Mail-in-a-Box also includes DNS management. Unlike other solutions that require third-party DNS services, Mail-in-a-Box configures and manages DNS records for you, further simplifying the process of setting up email for your domain.
Lastly, Mail-in-a-Box offers scalability. Whether you’re setting up email for a single domain or managing multiple users across various domains, the software can handle it all. Its robust architecture and management tools make it an excellent solution for personal projects and small to medium-sized organizations.
>>How to Install Mailu on Ubuntu 22.04
Requirements for Installing Mail-in-a-Box
To set up a Mail-in-a-Box server, you need the following prerequisites:
- Domain Name: You’ll need a domain name to assign to your email server. Mail-in-a-Box relies on DNS settings, so make sure you have access to your domain’s DNS control panel.
- SMTP Server: SMTP server or virtual private server (VPS) with a fresh, minimal installation of Ubuntu or any other Linux distribution that is compatible with Mail-in-a-Box. The server should have at least 2GB of RAM and sufficient storage capacity based on your anticipated email usage, considering the volume of emails, size of attachments, and retention duration.
- Port 25: Port 25 must be open, and the server should have an IP address with a good reputation to ensure that emails are delivered directly to the recipient’s primary inbox.
Choosing the right server for your Mail-in-a-Box installation is crucial for optimal email deliverability and server performance. Here are my recommendations that not only meet the necessary requirements but also come with exciting offers to make your journey more budget-friendly:
- Contabo: Known for their excellent VPS and dedicated server offerings, Contabo is a great choice for hosting your Mail-in-a-Box server. With their current offer, you can save on the setup fee, making it an economical choice for getting started. Their servers are well-reputed for good IP reputation, which can enhance your email deliverability. Sign up for Contabo and save the setup fee
- OVH: A global, hyper-scale cloud provider, OVH offers a wide range of robust and secure server options. Their current deal lets you get up to 50% off on selected services, making it a cost-effective choice for small to medium-sized businesses. OVH’s servers are known for their reliability and solid IP reputation. Get started with OVH and enjoy up to 50% off
- OpenPort25: Specializing in email infrastructure, OpenPort25 provides servers optimized for SMTP with excellent deliverability and support for bulk email sending. Their current promotion offers a discount on their SMTP-optimized servers, making it a great choice for your Mail-in-a-Box setup. Sign up for OpenPort25 and take advantage of the discount
Each of these providers offers a solid foundation for your Mail-in-a-Box server. Remember, a good server provider with a reputable IP is key to ensuring your emails land straight in the primary inbox. So, take advantage of these offers and set up your Mail-in-a-Box server today!
The above are affiliate links. If you click through and make a purchase, I may receive a commission at no additional cost to you. I only recommend products I trust and would use myself.
>>How to Install iRedMail on Ubuntu 22.04
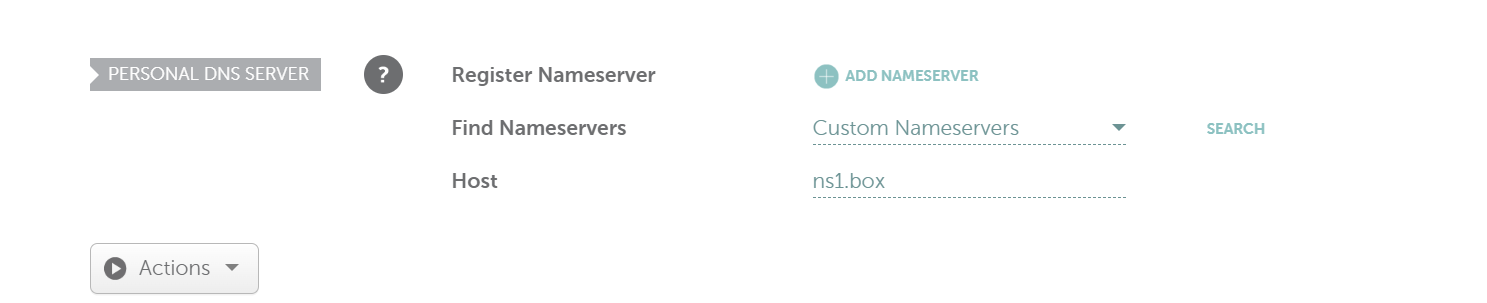
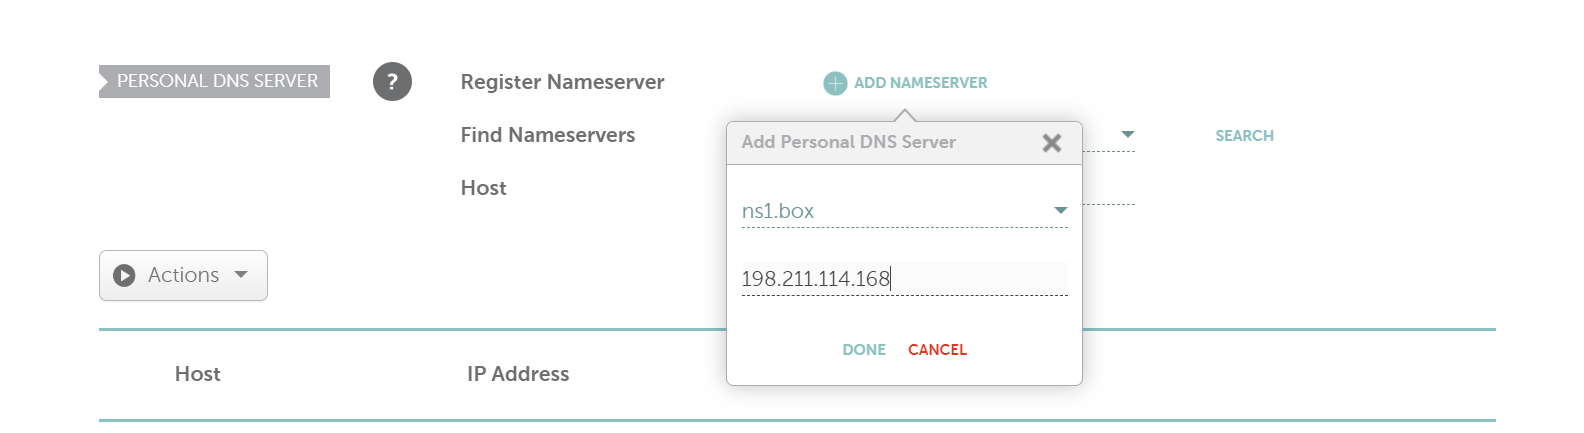
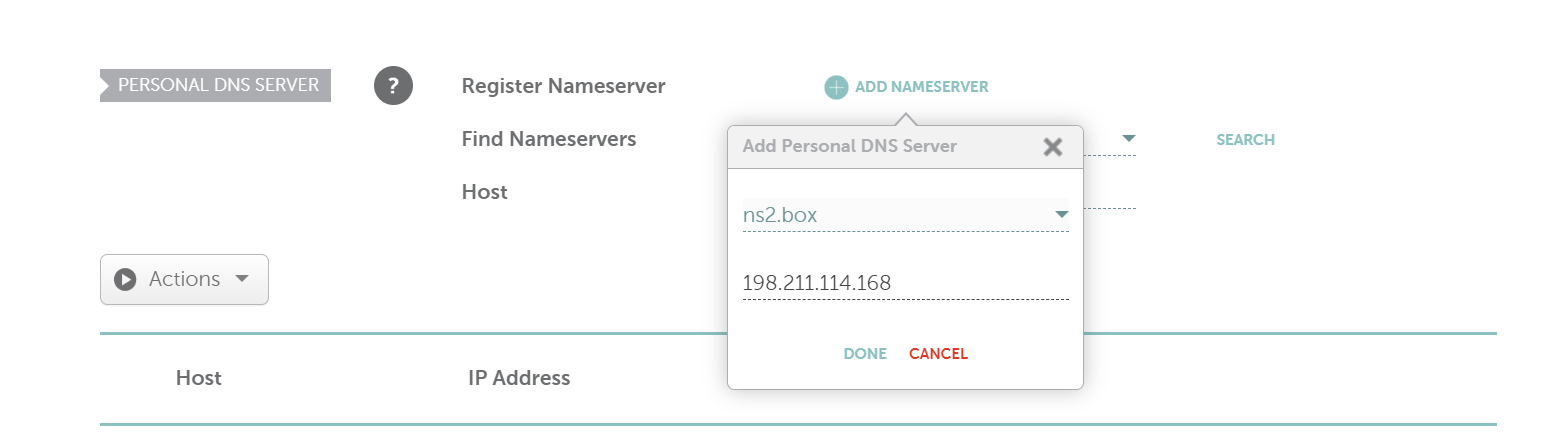
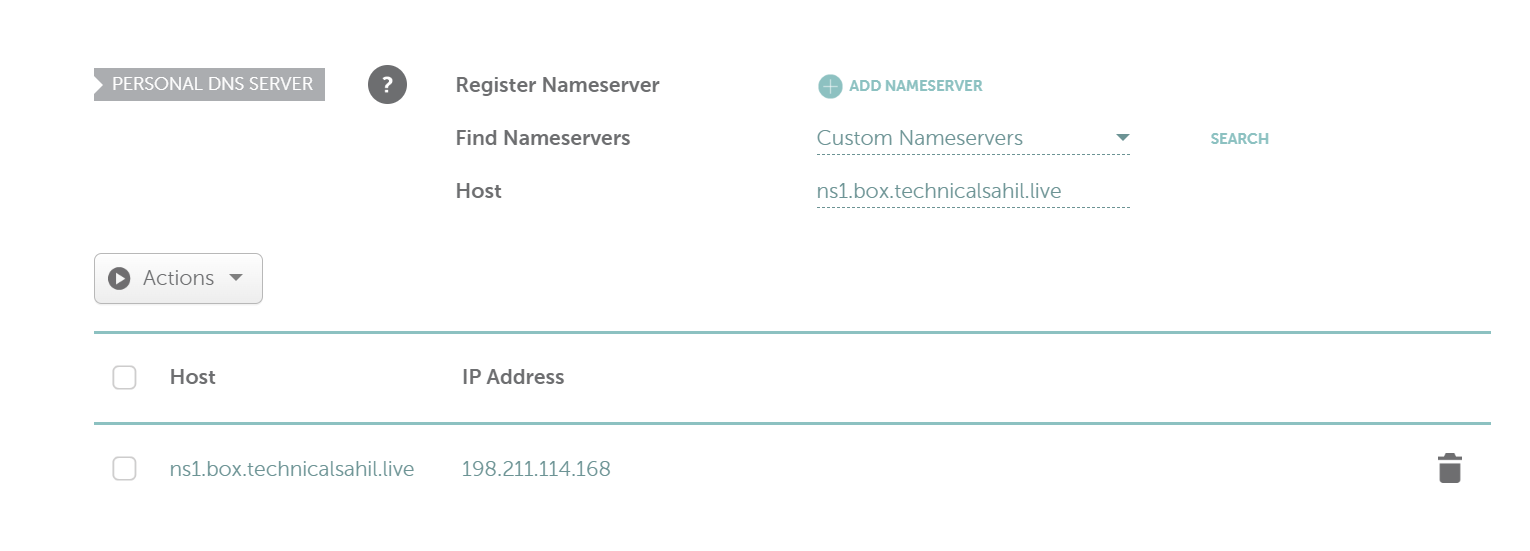
Setup Nameservers
Mail-in-a-Box requires you to set up custom nameservers for proper DNS configuration. The typical format for these nameservers is as follows:
ns1.box.yourdomain.com
ns2.box.yourdomain.com
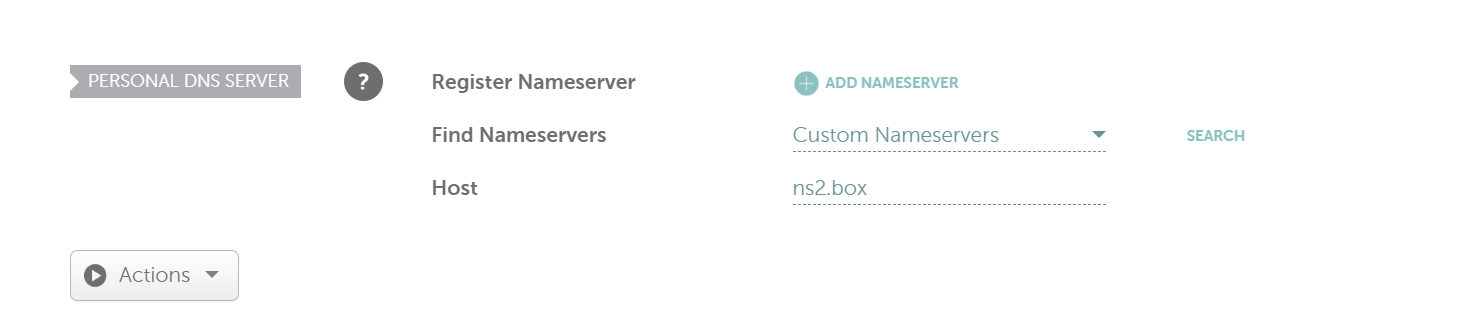
To configure the nameservers, log in to your domain registrar’s DNS control panel and add two A records that point to your server’s IP address. Once these records are added, change the nameservers for your domain to the ones you just created. Here’s a breakdown of the steps:
In your registrar’s DNS settings, create the following A records:
ns1.box.yourdomain.com → your_server_ip
ns2.box.yourdomain.com → your_server_ip
After creating the A records, go to the domain settings and set the nameservers for your domain as:
ns1.box.yourdomain.com ns2.box.yourdomain.com

DNS changes can take some time to propagate, so allow several hours for the changes to fully propagate across the internet.
Properly configuring your nameservers is essential for Mail-in-a-Box to work correctly, as the software handles DNS management for your domain. It is recommended to use tools like dig or online DNS checkers to ensure that the nameservers have been set up correctly.
Change Hostname
Once your domain and nameservers are ready, you need to change your server’s hostname to match your Mail-in-a-Box setup. Use the following command:
hostnamectl set-hostname box.yourdomain.com
This command sets the Fully Qualified Domain Name (FQDN) for your server, which is required for Mail-in-a-Box to function correctly.
Update System Packages
Before you begin the installation process, make sure your system is up to date. Run the following commands:
sudo apt update && sudo apt upgrade -y
This ensures that all system packages are up-to-date, avoiding potential issues during the installation process.
Installing Mail-in-a-Box
Now that your server is prepared, you can install Mail-in-a-Box by running the official setup script:
curl -s https://mailinabox.email/setup.sh | sudo bash
This script will begin the installation process, guiding you through a series of configuration steps.
Configuring Mail-in-a-Box
During the installation, you will be prompted to configure a few key settings:
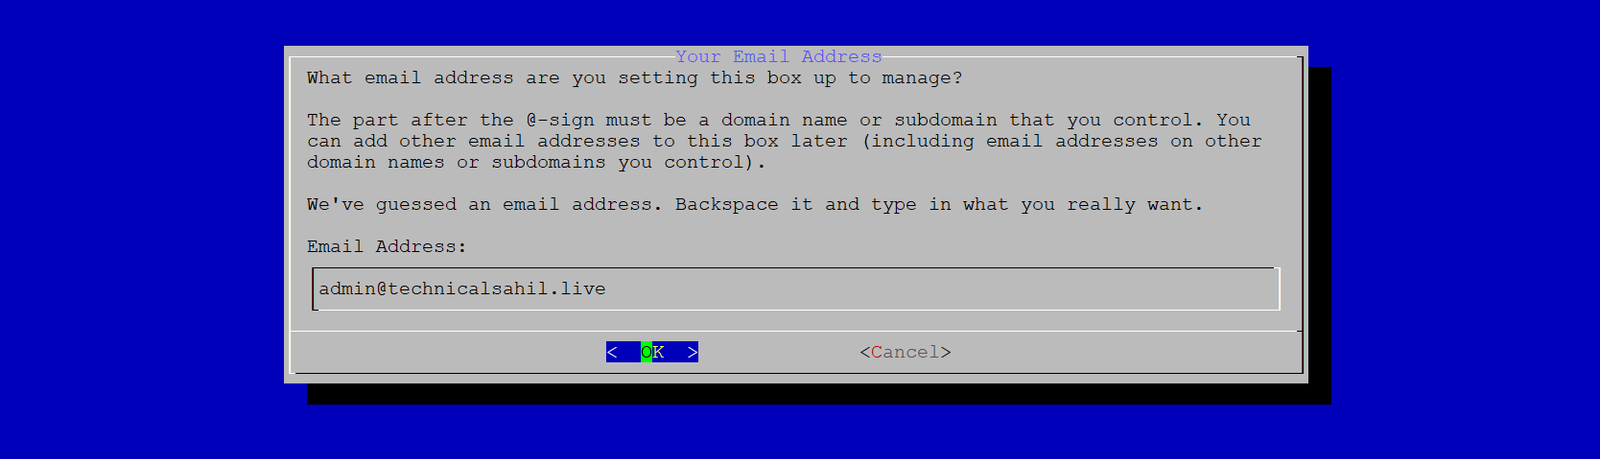
Enter your primary admin email address (e.g., admin@yourdomain.com).

Confirm the hostname you set earlier (e.g., box.yourdomain.com).
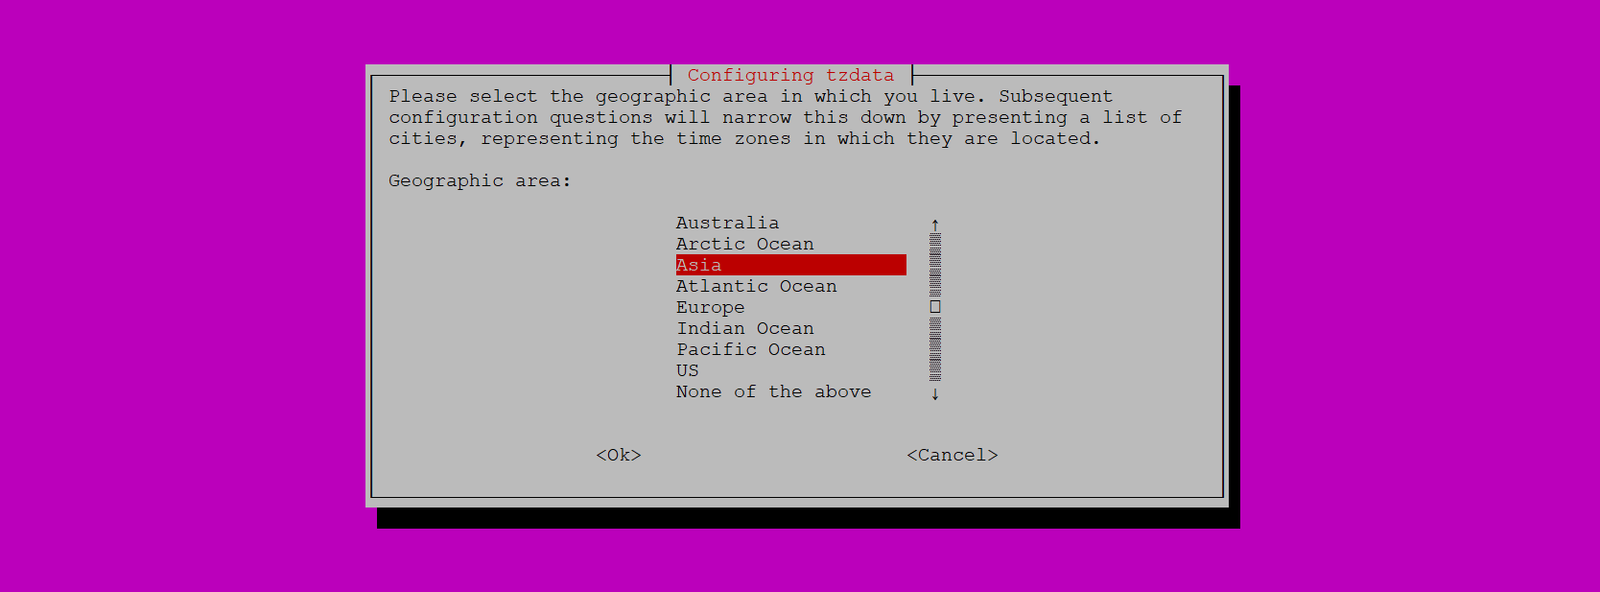
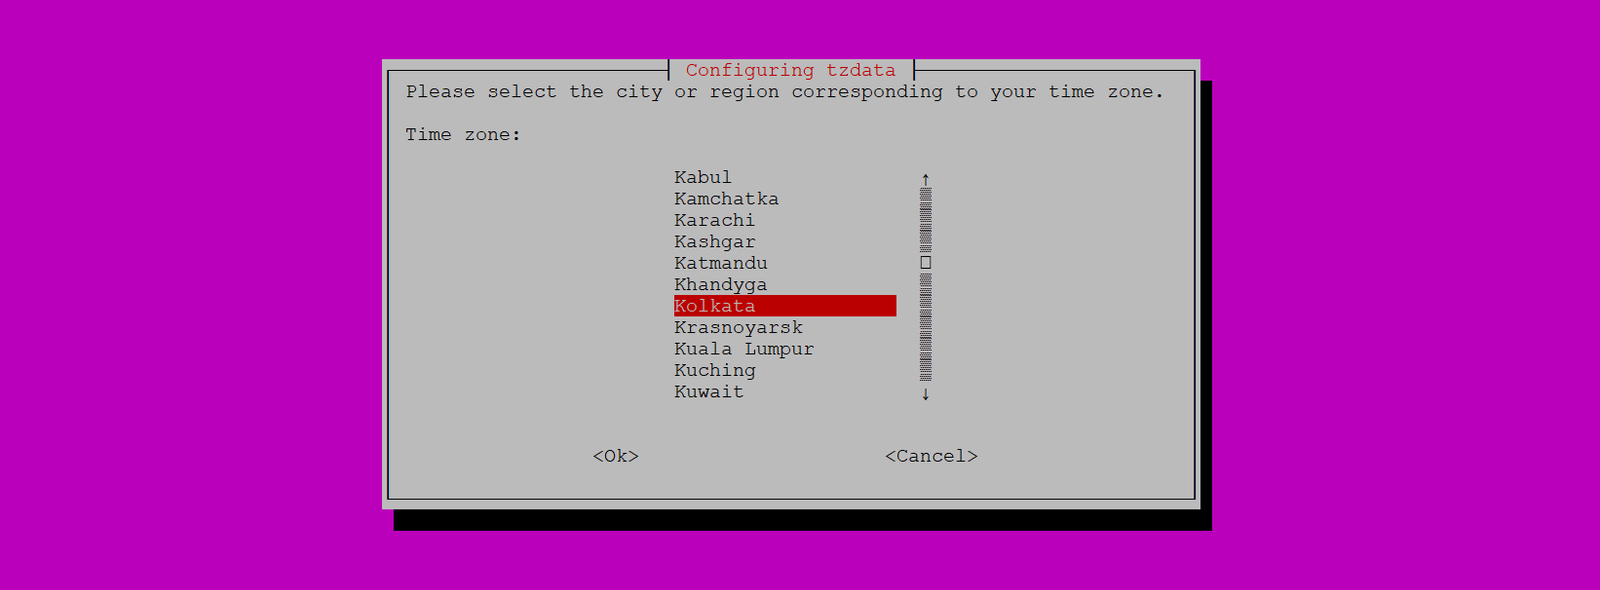
Choose the appropriate timezone for your server.
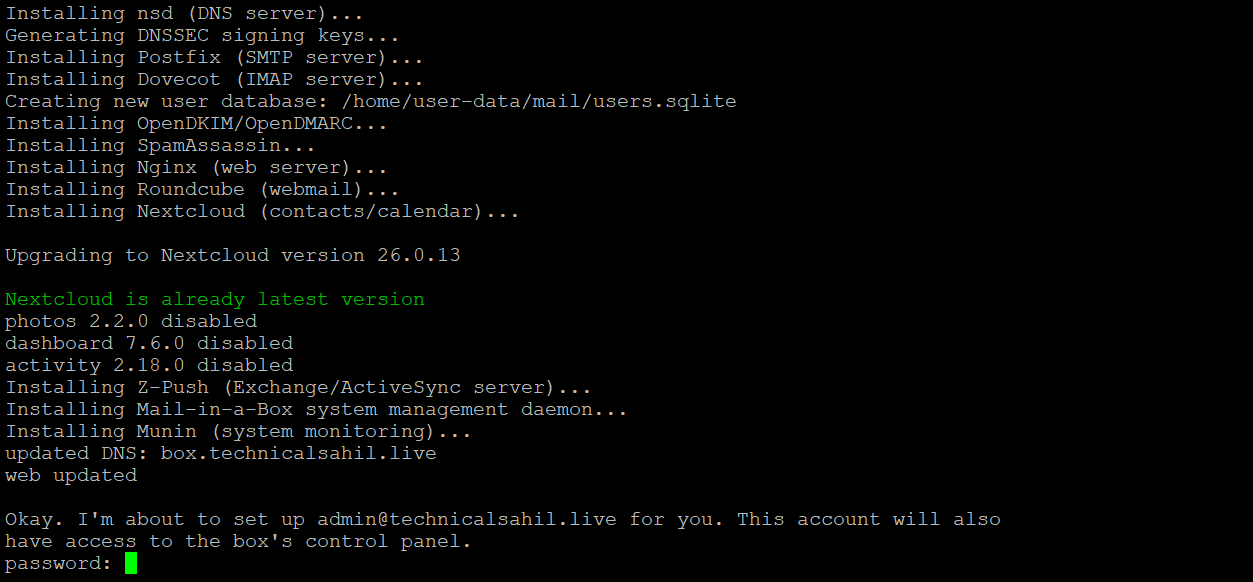
Set a strong password for the admin panel, and confirm it.
Press “Enter” to proceed through the steps. The installation script will automatically configure the required services and set up your email server.
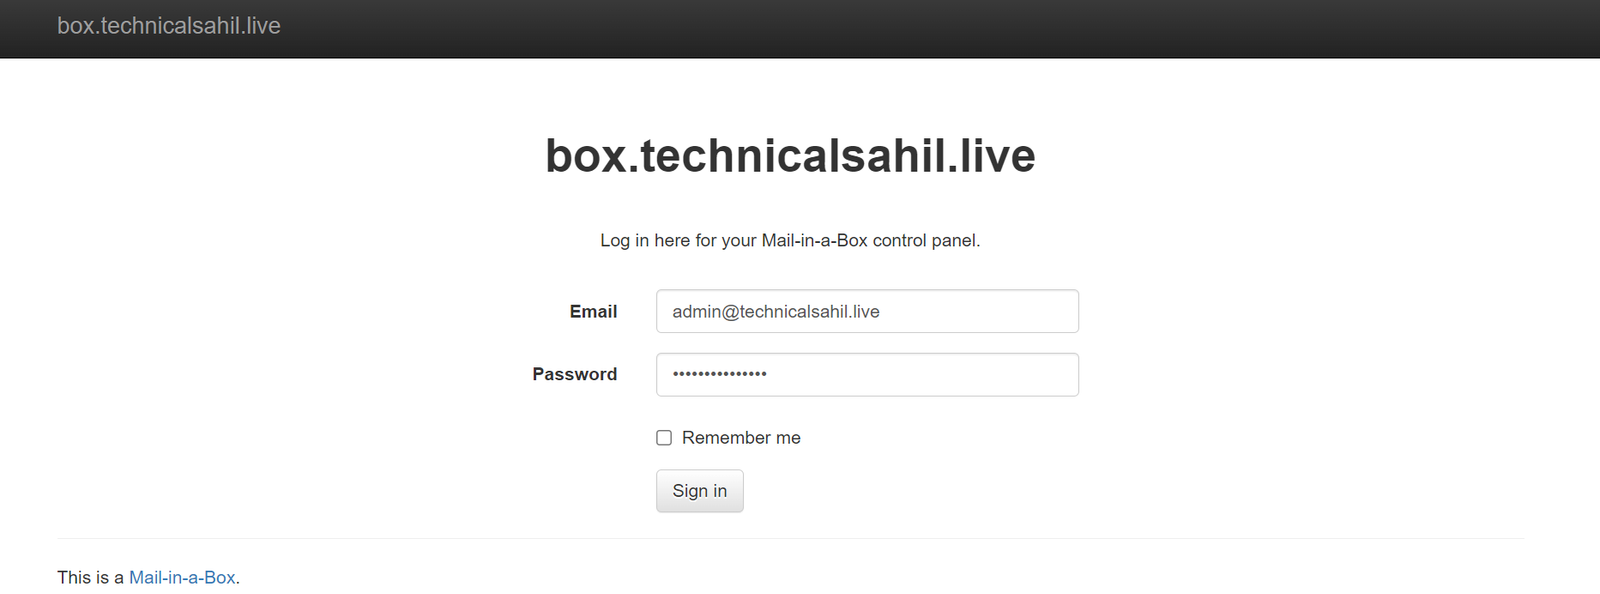
Once the installation is complete, you can access the Mail-in-a-Box admin panel by visiting https://your-server-ip/admin and login with the credentials you set during the installation process.
From the admin panel, you can manage domains, email accounts, and other settings. Remember to monitor your server regularly and keep it updated to ensure it continues to run smoothly.