FFmpeg is a versatile multimedia framework essential for handling audio and video files on Linux systems. This guide provides an in-depth tutorial on installing FFmpeg on Ubuntu 20.04, catering to both beginners and advanced users.
System Update
Start by updating your Ubuntu system to ensure all existing packages are up-to-date. Open the terminal and execute:
sudo apt update
sudo apt upgrade -y
This step ensures compatibility and security for the FFmpeg installation.
Installing FFmpeg
With your system updated, proceed to install FFmpeg:
sudo apt install ffmpeg
This command fetches and installs the latest FFmpeg package from the Ubuntu repository.
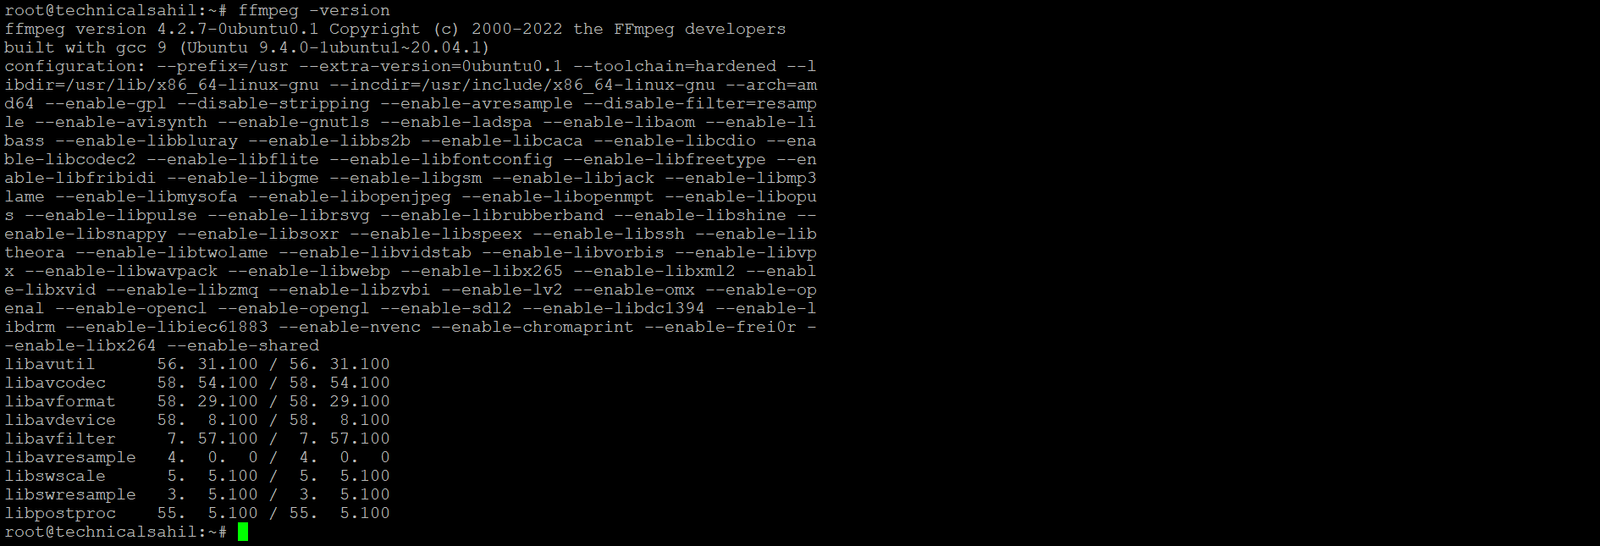
Verifying the Installation
Once the installation completes, verify it by checking the FFmpeg version:
ffmpeg -version
This command displays the installed version of FFmpeg, confirming a successful installation.
Basic Operations with FFmpeg
Explore basic FFmpeg functionalities. For instance, to convert an MP4 file to AVI format, use:
ffmpeg -i input.mp4 output.avi
Such commands demonstrate FFmpeg’s capability to handle various multimedia formats.
Advanced Features
FFmpeg isn’t just about basic file conversion. It offers advanced features like video resizing, adjusting quality, and setting codecs. For example, resizing a video to a width of 640 pixels:
ffmpeg -i input.mp4 -vf scale=640:-1 output.mp4
Understanding these advanced features can significantly enhance your multimedia handling capabilities.
Automation and Scripting
For power users, FFmpeg can be incorporated into scripts for automating media processing tasks. This aspect is particularly useful for batch processing or complex video/audio editing operations.