Installing cPanel/WHM on AlmaLinux 8 requires a series of steps to prepare the server environment, install necessary packages, and configure settings. Below is a guide explaining the purpose of each command in this process.
Updating & Upgrading System Packages
sudo yum update && sudo yum upgrade -y
This command updates and upgrades all the existing packages on your AlmaLinux system to their latest versions, ensuring a secure and stable environment for cPanel/WHM installation.
Installing Apache Web Server
Apache is a popular web server; this command installs it on your AlmaLinux system.
sudo yum install httpd
Restarting Apache Web Server
Restart Apache to apply any changes made during the installation.
sudo systemctl restart httpd
Updating DNF Package Manager
DNF is the package manager for AlmaLinux. This command updates it to the latest version.
sudo dnf update -y
Installing Firewalld
sudo dnf install firewalld -y
Firewalld is a firewall management tool. This command installs it on your system.
Starting and Enabling Firewalld
sudo systemctl start firewalld

sudo systemctl enable firewalld
These commands start Firewalld and ensure it runs at system boot.
Checking Firewalld Status
sudo systemctl status firewalld
This checks the operational status of Firewalld.
Configuring Firewalld Ports
The following commands configure Firewalld to allow traffic through essential ports for web traffic and cPanel/WHM services.
sudo firewall-cmd --permanent --add-port=80/tcp

sudo firewall-cmd --permanent --add-port=443/tcp

sudo firewall-cmd --permanent --add-port=2087/tcp

sudo firewall-cmd --permanent --add-port=2083/tcp

sudo firewall-cmd --permanent --add-port=3306/tcp
Restarting Firewalld
Restart Firewalld to apply the new settings.
sudo systemctl restart firewalld
Setting Apache Context
sudo chcon -Rt httpd_sys_rw_content_t /var/www
This command sets the correct SELinux context for the Apache document root.
Installing PHP
sudo yum install php

sudo dnf install php php-opcache php-gd php-curl php-mysqlnd php-xml php-mbstring php-pecl-apcu
These commands install PHP and essential PHP modules for web applications.
Enabling PHP-FPM
sudo systemctl enable --now php-fpm
Enables and starts the PHP FastCGI Process Manager.
Restarting Apache
sudo service httpd restart
Restart Apache to apply the PHP integration.
Installing Perl
sudo yum install perl
Perl is required for running the cPanel installation script.
Downloading cPanel Installation Script
curl -o latest -L https://securedownloads.cpanel.net/latest
This command downloads the cPanel installation script.
Running cPanel Installation Script
sudo sh latest
Executes the cPanel installation script which installs cPanel/WHM on your system.

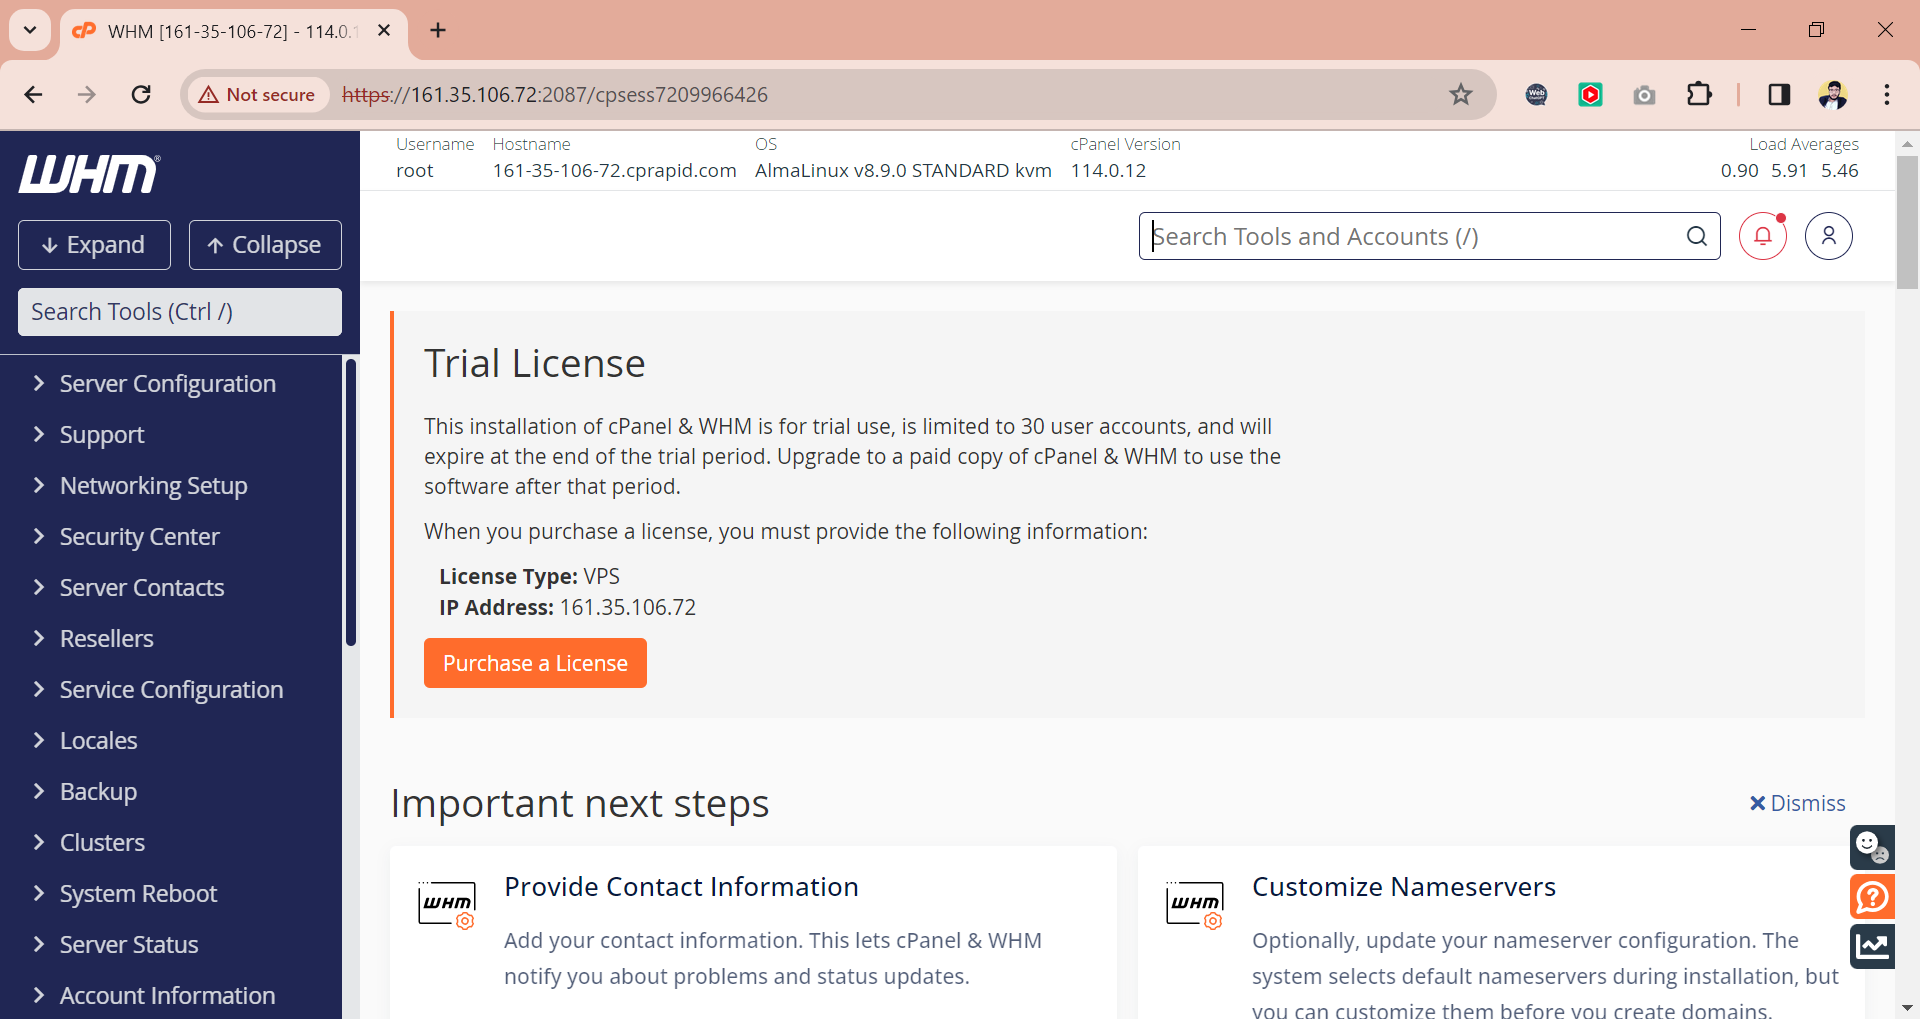
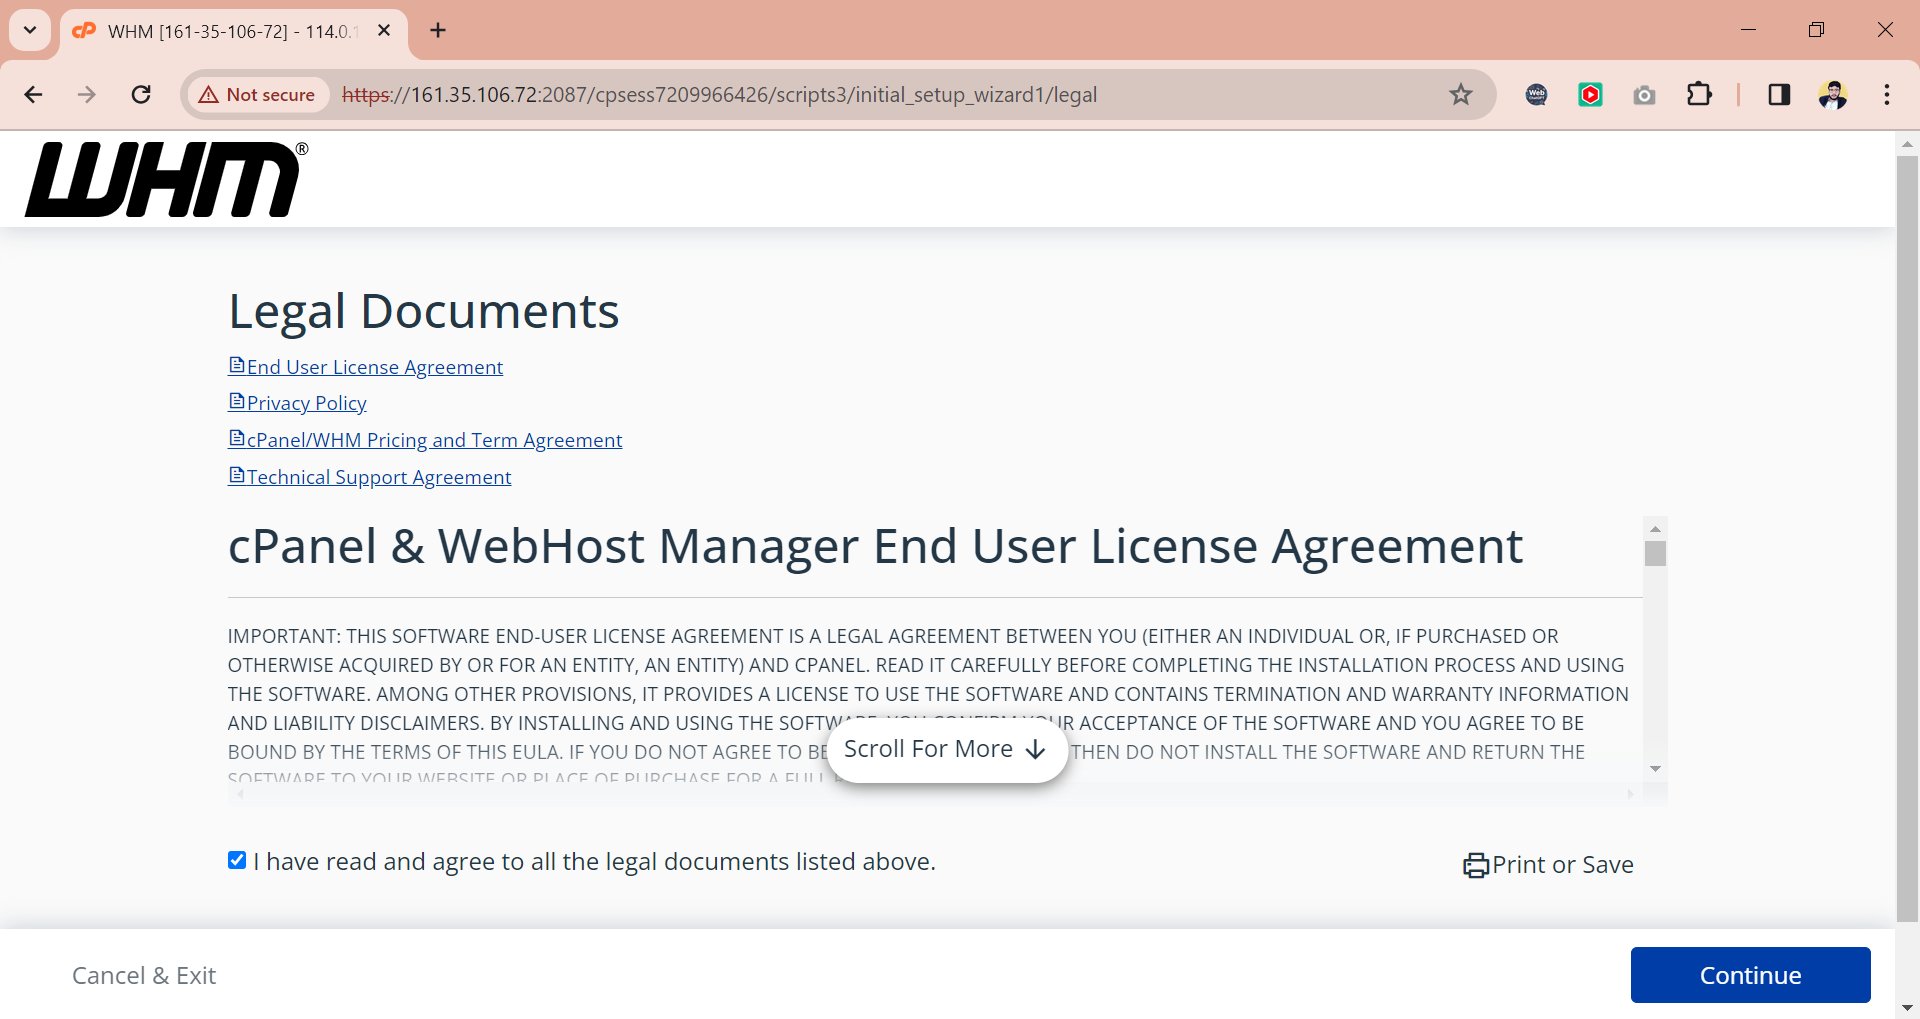
Next, copy the URL https://your_server_ip:2087 and paste it into your web browser to access it.

Login with your root credentials, Accept their policies then login to their store.
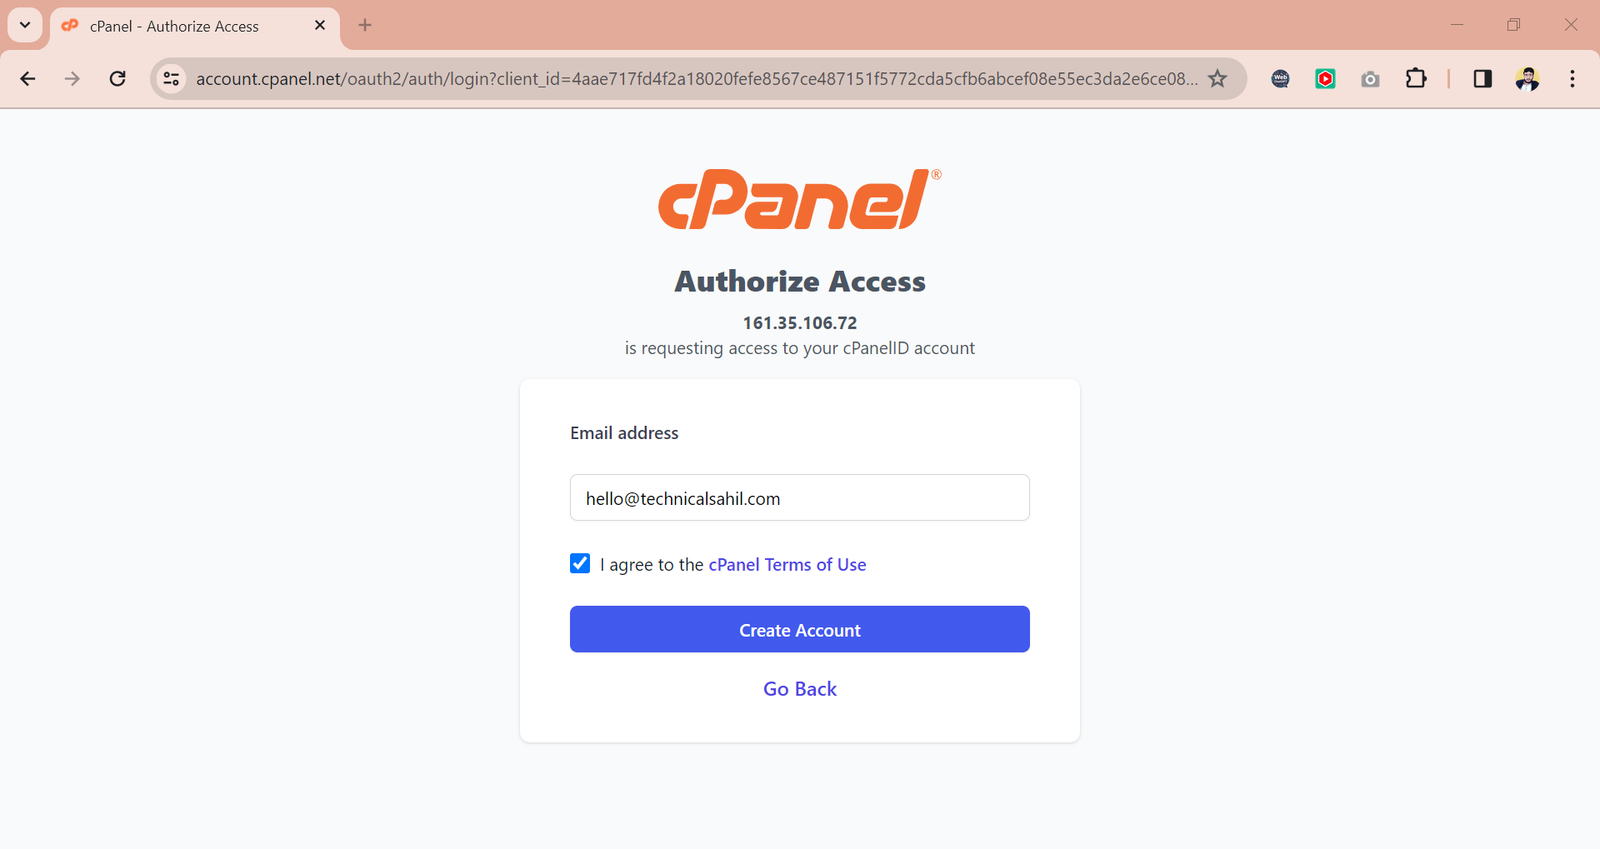
cPanel offers a 15 days of free trial with a limit to create only 30 accounts. To get activate the trial, sign up to their official store.


After confirming your email address, click server setup.

Setup the system admin email with the default nameservers and click next.
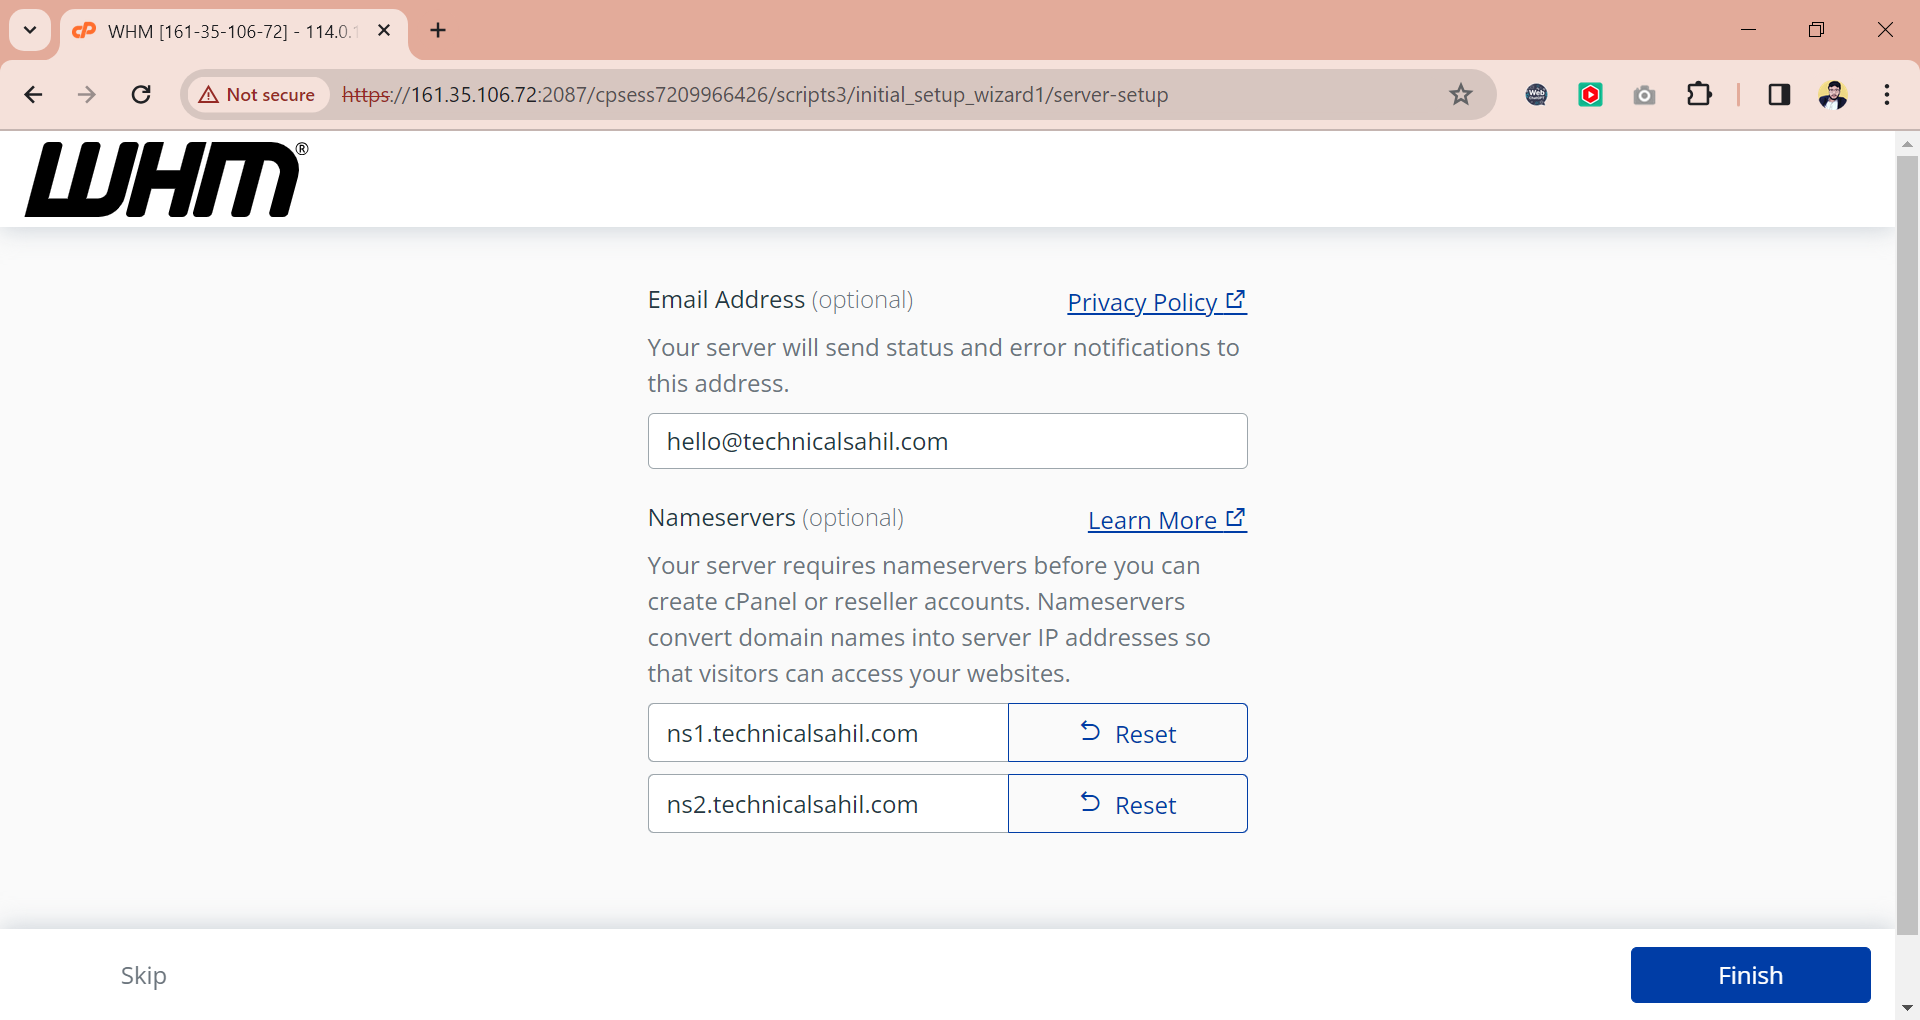
Your cPanel with the 15 days of trial license has been installed successfully.