With Vultr, you can get your own personal Minecraft multiplayer server in just a few clicks. Its cheap and the best part is you will get a $100 of free server credits by using this link to sign up on Vultr, to try out their platform to decide if it is the best for you or not.
Before you start this one click Minecraft server Vultr tutorial, you will understand why you need it, because you can create and run a Minecraft server all by yourself, but you will face a lot of problems like those who will connect to your server. deal with latency and delays due to your internet connection from your ISP (Internet Service Provider).
Not to mention that other applications running on your computer may affect your server’s hosting capabilities, players may lose interest in logging into your server as you most likely won’t be able to keep your host computer up 24/7 or even for years .
Poor quality module packs and prone to plug-ins even if your computer is running the latest processors and operating systems because it has trouble supporting many players on your server.
This is where cloud hosting comes to the rescue. This will give you a bigger picture of why you need an online server. Now let’s get in Vultr Minecraft server.
PREREQUISITES
- Vultr Account
- Minecraft App
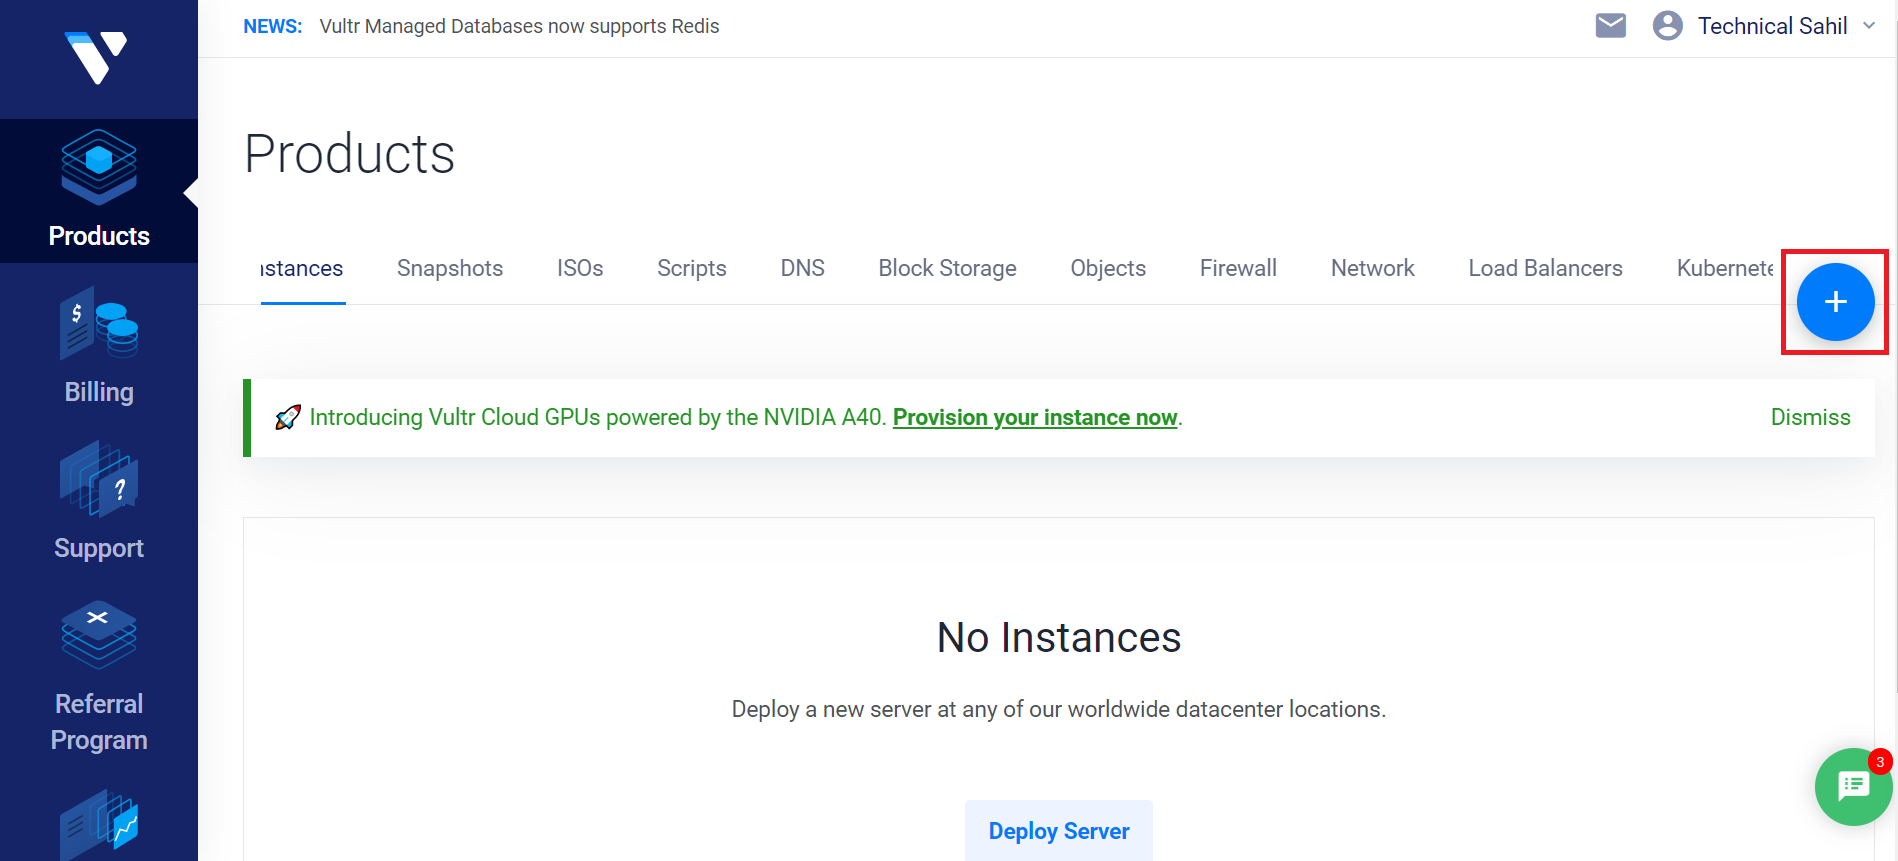
Step 1
Click on the + option to start deploying your server from the Vultr dashboard.
Step 2
After selecting server configuration in server type, choose the Minecraft option from the application section.

Step 3
Now scroll down and deploy your Minecraft Server.

Step 4
It will take some time like 60-70 seconds before you can start using your server.
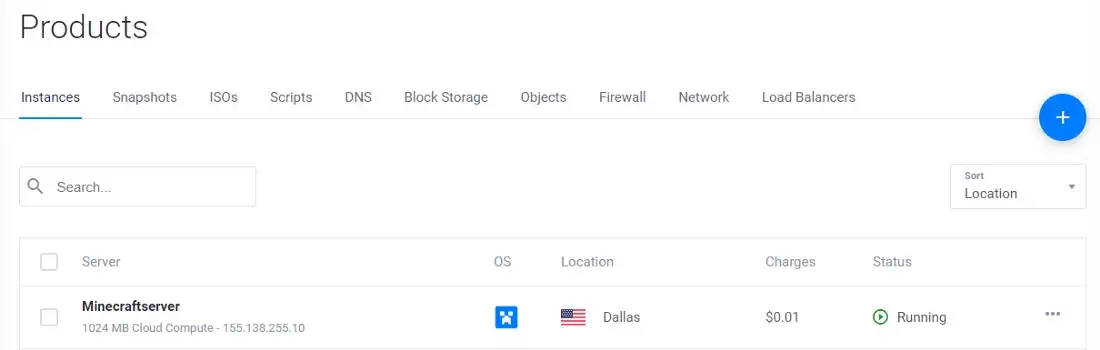
Now when you click on the server you can see some detail about your Minecraft services like IP address and root password.

To access the console of your Minecraft server:
- Connect to the server via ssh as root. Use the root login credentials.
- After you logged in your server connect to the screen session:
-
# screen -r
You will see the game server console and can type commands here.
Connect with Minecraft Game Client
As you have deployed your Vultr Minecraft server you can now connect it to your game client.
The first thing you have to do is copy your IP address.

In your, Minecraft Game client click on the Multiplayer option.
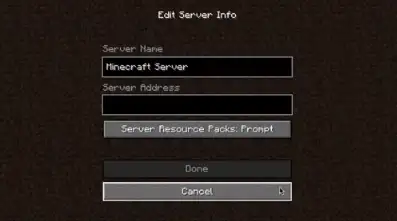
Then rename your server and past the IP address, which you have copied from the Vultr dashboard of your server. That’s it.
Is Vultr VPS good for Minecraft?
In terms of speed and reliability, Vultr is a good choice. Not to mention the location of their data center, you can choose your nearest server for your Minecraft.
Are vultr minecraft servers for java or bedrock.
Vultr Minecraft servers and JAV.
Which specification should I choose?
A 2GB RAM server works perfectly for 2-3 players, but that’s entirely up to you. You can easily deploy your server and find out which location according to the specification suits you best. You don’t have to pay them for it because you’ll be using your $100 free server credit.


I may need your help. I’ve been doing research on gate io recently, and I’ve tried a lot of different things. Later, I read your article, and I think your way of writing has given me some innovative ideas, thank you very much.
Can you be more specific about the content of your enticle? After reading it, I still have some doubts. Hope you can help me. https://www.binance.com/en/register?ref=P9L9FQKY
The point of view of your article has taught me a lot, and I already know how to improve the paper on gate.oi, thank you. https://www.gate.io/vi/signup/XwNAU
Reading your article has greatly helped me, and I agree with you. But I still have some questions. Can you help me? I will pay attention to your answer. thank you.